
Okay people, time to try how this thing REALLY works.
Airbrushing is unknown area for me but that haven’t never stopped me, just slowed down little bit…
Getting started…
There was many things to do when I prepared this motorcycle helmet. Before you start painting, all “non-paint” areas must be covered. I was using masking tape and just normal copier paper.

Mixing paint…
This was the tricky part. Using airbrush paint thinner and metal paint was easy.. Mixing it up, that was hard… Paint has to be enough thin so it comes out from airbrush and it can’t be too thick… I can’t help you out anymore but after mixing paint it’s pretty much like regular milk… (Yup, trust me)…
Airbrushing the helmet…
I used just random skull stencil for outlines and started to paint.. Layer by layer, black, white, black etc.. And last round I made those shades.
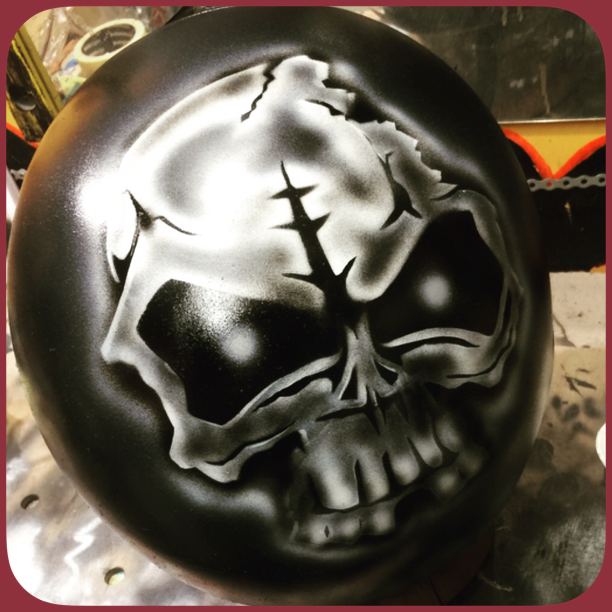
It’s enough good for first try, still I have no idea how that airbrush needs to be set but I think it comes in time…
What I learned…?
Many things… Paint mixing is really hard thing to do. Setting the airbrush is important if you want to have good steady paint flow. Covering those parts you don’t wanna paint and grinding of course. Can’t make good work if helmet is full of scrathes.. Sand blasting would probably be most effective way but I did i by sandpaper…
That’s all for now, thanks for your time…

Leave a comment