Skip to content
Skin Art
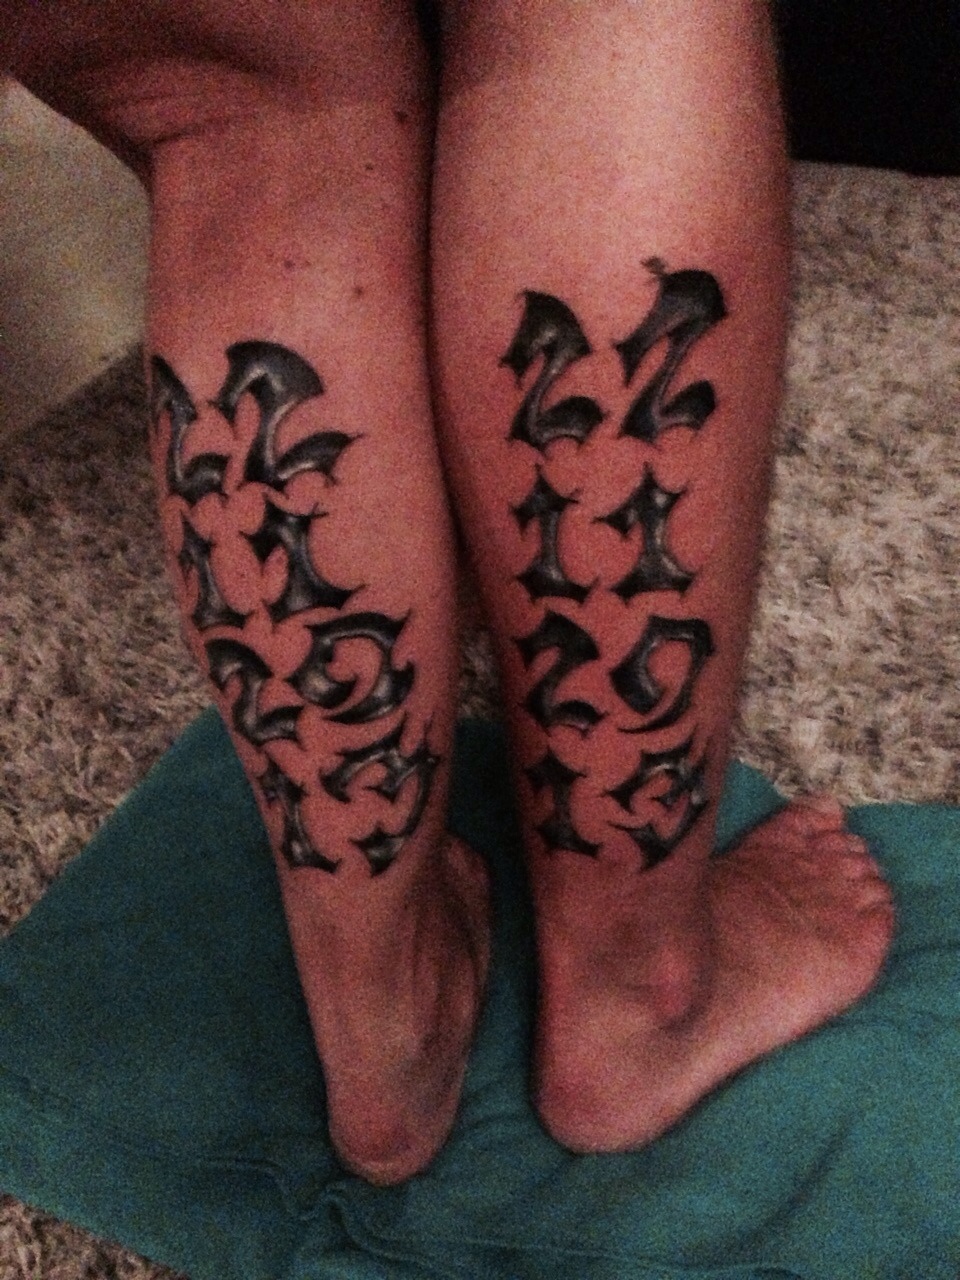
Rub it off eh..?
April 23, 2015
Skin Art
,
Tattoos
ROCK `N`ROLL..!
April 10, 2015
Skin Art
,
Tattoos
Something for him and something for her…
April 8, 2015
Skin Art
,
Tattoos
Sealife is a lifestyle…
April 6, 2015
Skin Art
,
Tattoos
Bad to the bone..!
March 31, 2015
CoverUp
,
Skin Art
,
Tattoos
Learning to skin art… (Polynesian)
March 28, 2015
Skin Art
,
Tattoos
Skulls and flames… what more you need?
March 27, 2015
Skin Art
Journey begins…
March 26, 2015
Skin Art
←
Privacy & Cookies: This site uses cookies. By continuing to use this website, you agree to their use.
To find out more, including how to control cookies, see here:
Cookie Policy
Subscribe
Subscribed
Everything is art, welcome to the jungle!
Join 102 other subscribers
Sign me up
Already have a WordPress.com account?
Log in now.
Everything is art, welcome to the jungle!
Subscribe
Subscribed
Sign up
Log in
Report this content
View site in Reader
Manage subscriptions
Collapse this bar