Skip to content
Tattoos
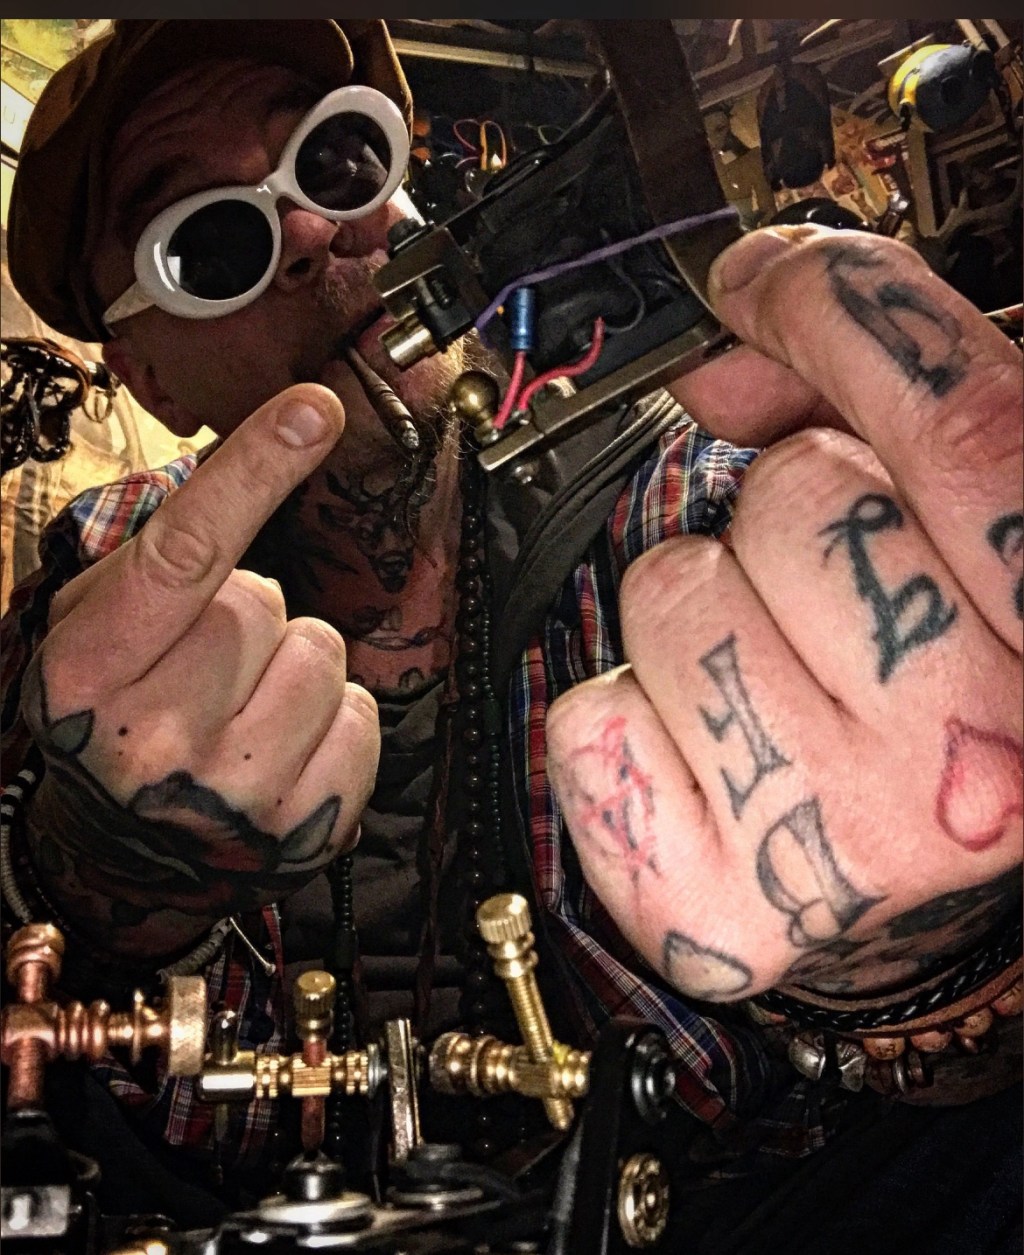
Promt answering. (Hästäg) unique me!
May 22, 2024
art
,
daily question
,
prompt
,
Tattoos
,
Tatuagem
daily question
,
dailyprompt
,
dailyprompt-1946
,
prompt
,
question
,
tattoo ideas
,
Tattoos
,
Toxic Avenger
,
troma
,
Troma army
Dia de tatuagem por favor!
April 17, 2024
art
,
Tattoos
,
Tatuagem
Brasil
,
Tattoos
,
tatuadoriniciante
,
Tatuagem
,
tatuagemescrita
,
tatuagens
,
tatuajes
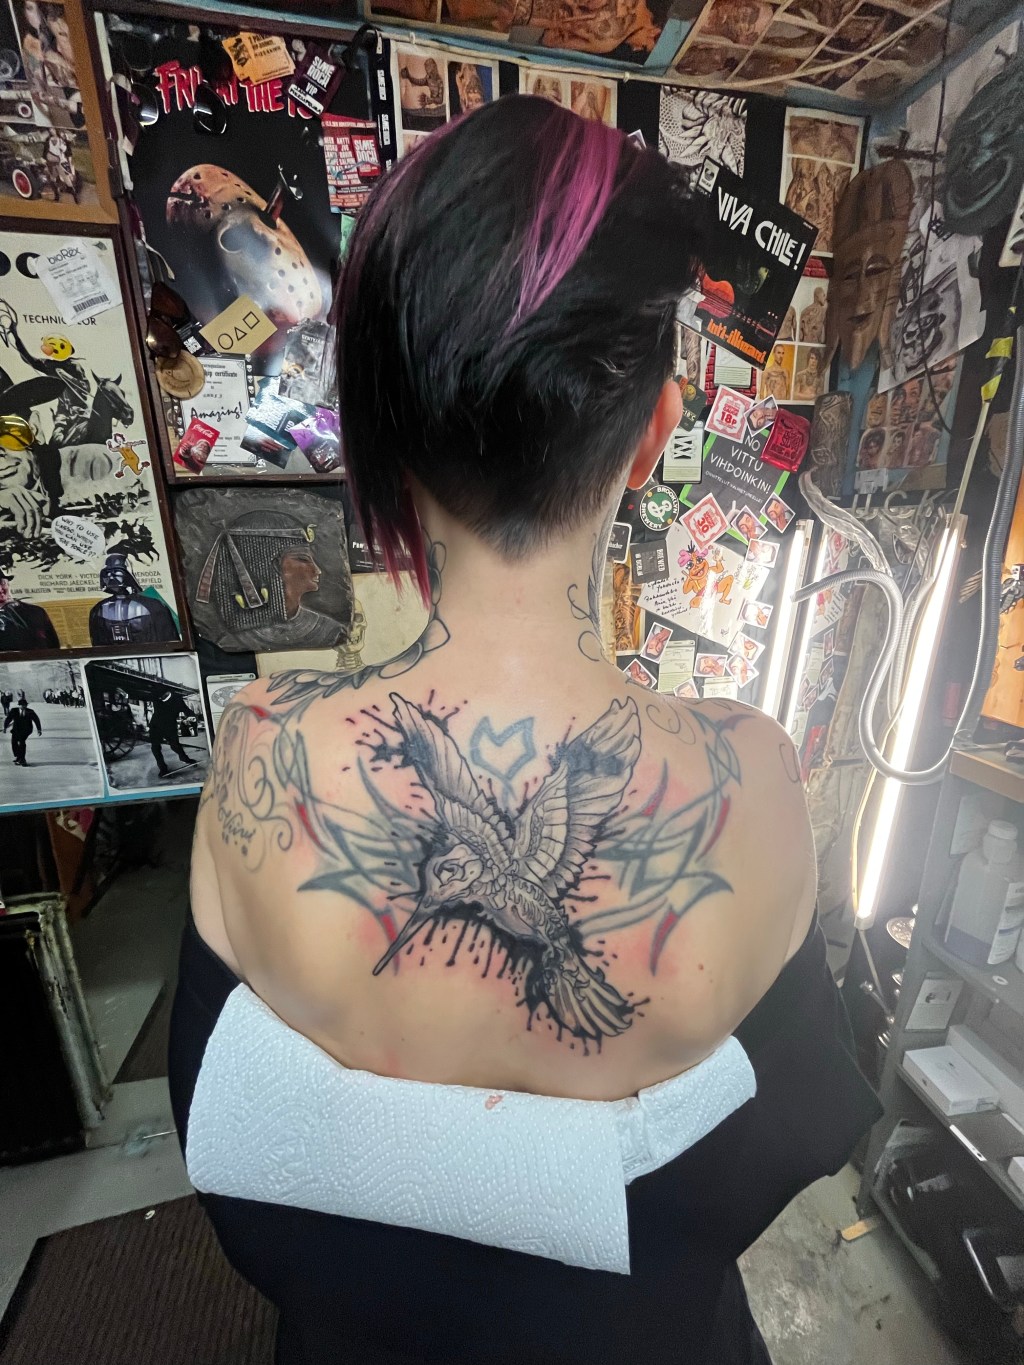
Gosto de tatuagem..?
February 27, 2024
Tattoo
Tattoo
,
tattooart
,
TattooLife
,
Tattoos
,
Tatuagem
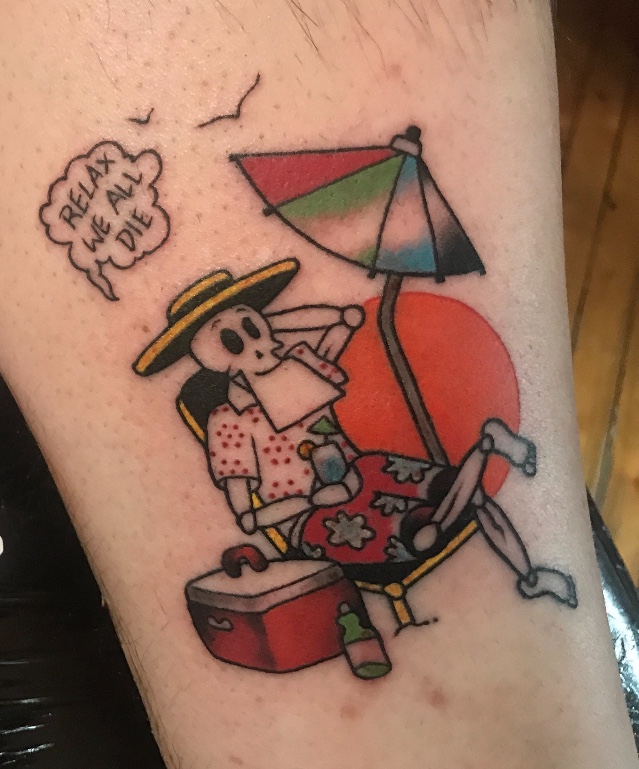
“14 muscles are used when pour a glass of wine..”
February 7, 2024
art
,
prompt
,
question
daily question
,
dailyprompt
,
dailyprompt-1841
,
prompt
,
question
,
Tattoos
Blast from the past… It’s the Ren and Stimpy show!
February 6, 2024
Tattoo
,
Tattoos
blast from past
,
cartoons
,
Nickelodeon
,
ren and Stimpy
,
Tattoo
,
tattooed
,
TattooLife
,
Tattoos
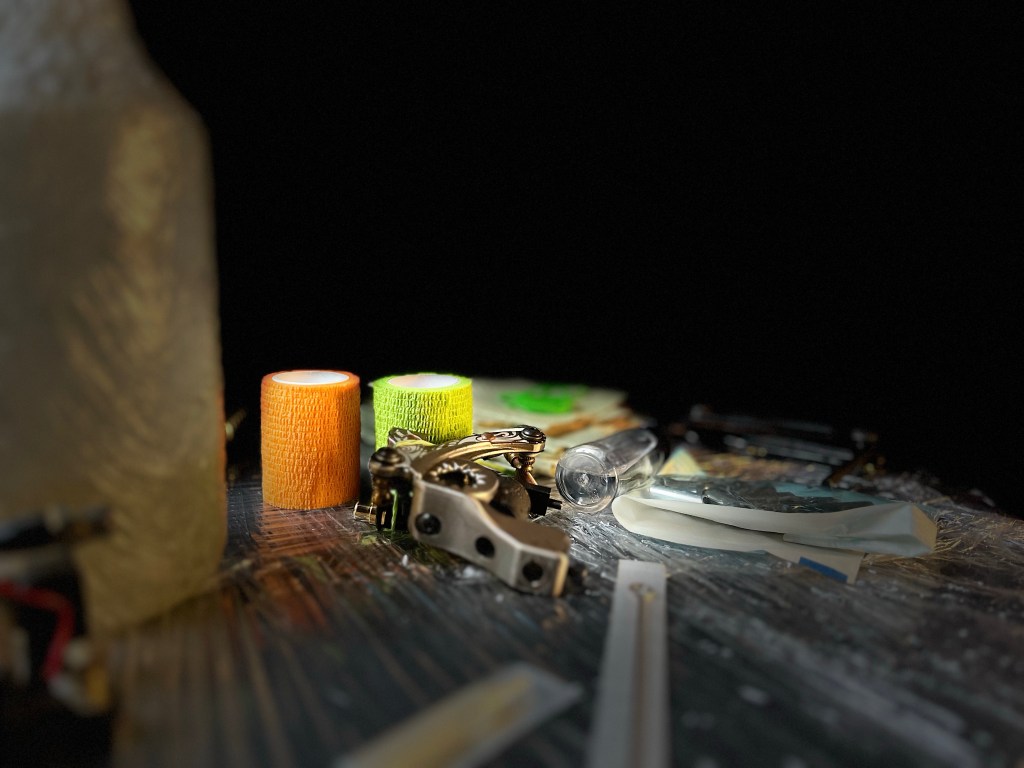
ITEM from the past-ish..
January 10, 2024
art
,
daily question
,
prompt
,
question
artist
,
bloganuary
,
bloganuary-2024-10
,
coil machine
,
daily question
,
dailyprompt
,
dailyprompt-1813
,
prompt
,
question
,
Tattoos
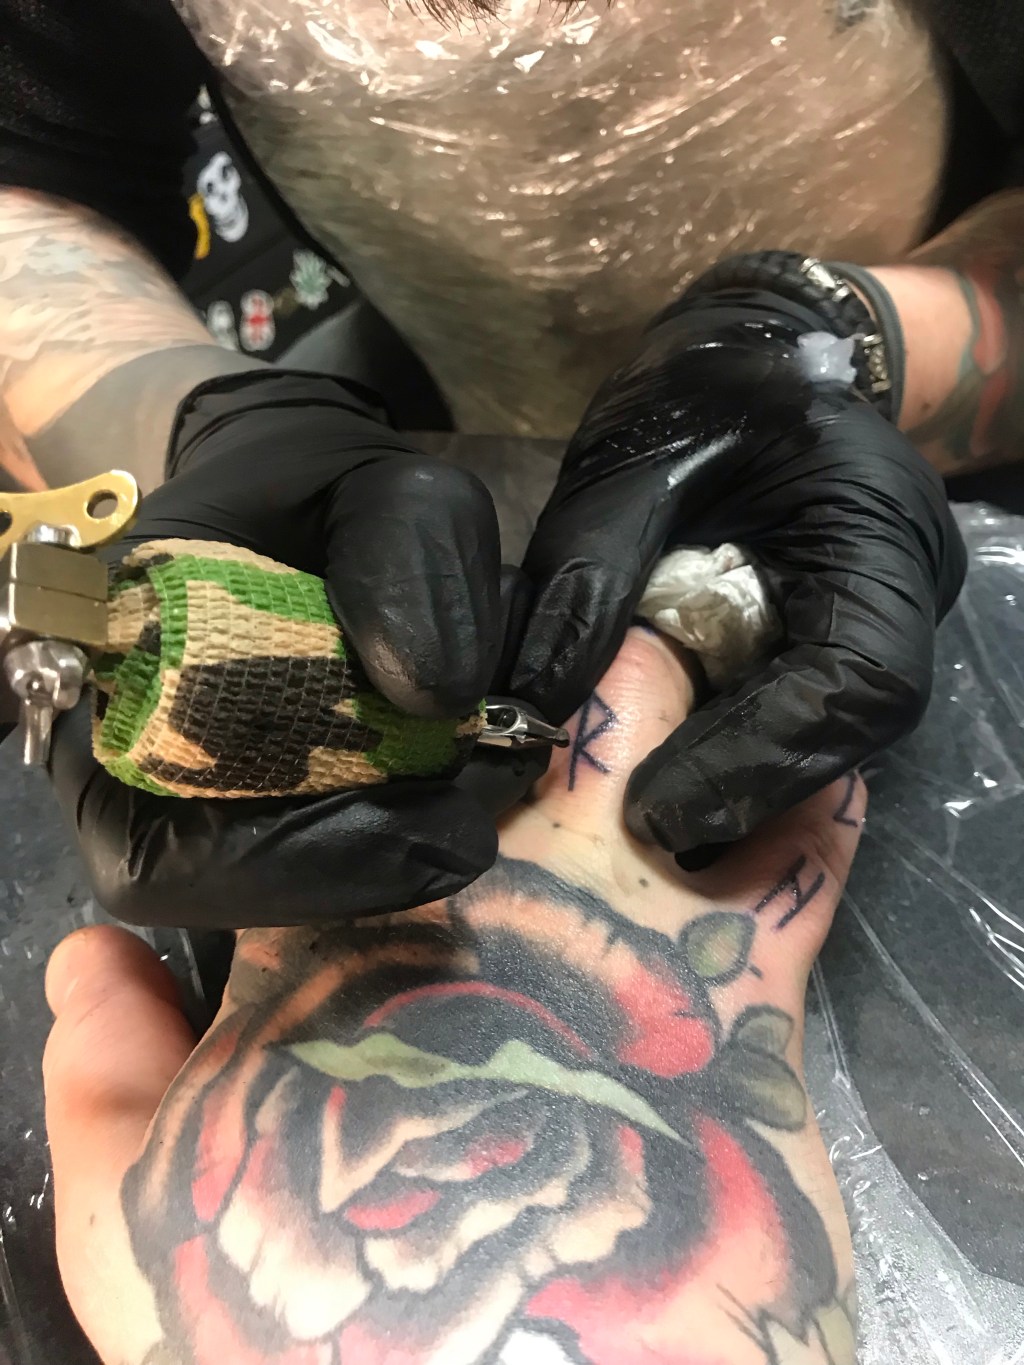
Coverup session
December 13, 2023
Tattoo
,
TattooLife
,
Tattoos
,
Tatuagem
,
Tatuaje
artist
,
CoverUp
,
flashtattoo
,
Tattoo
,
tattooing
,
TattooLife
,
Tattoos
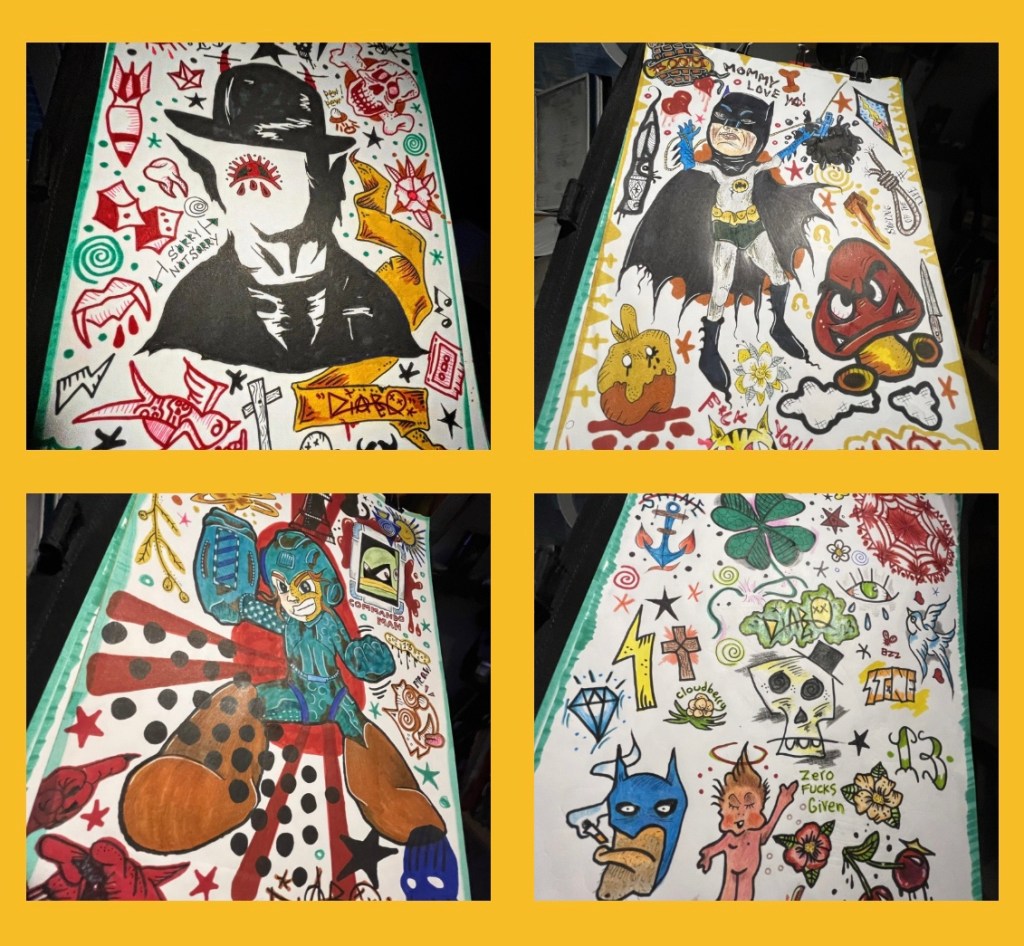
One way of use spare time.. Flash sheats!
October 1, 2023
art
,
Drawing
,
Tattoo
Drawings
,
Flashsheet
,
flashtattoo
,
sketching
,
tattooflash
,
Tattoos
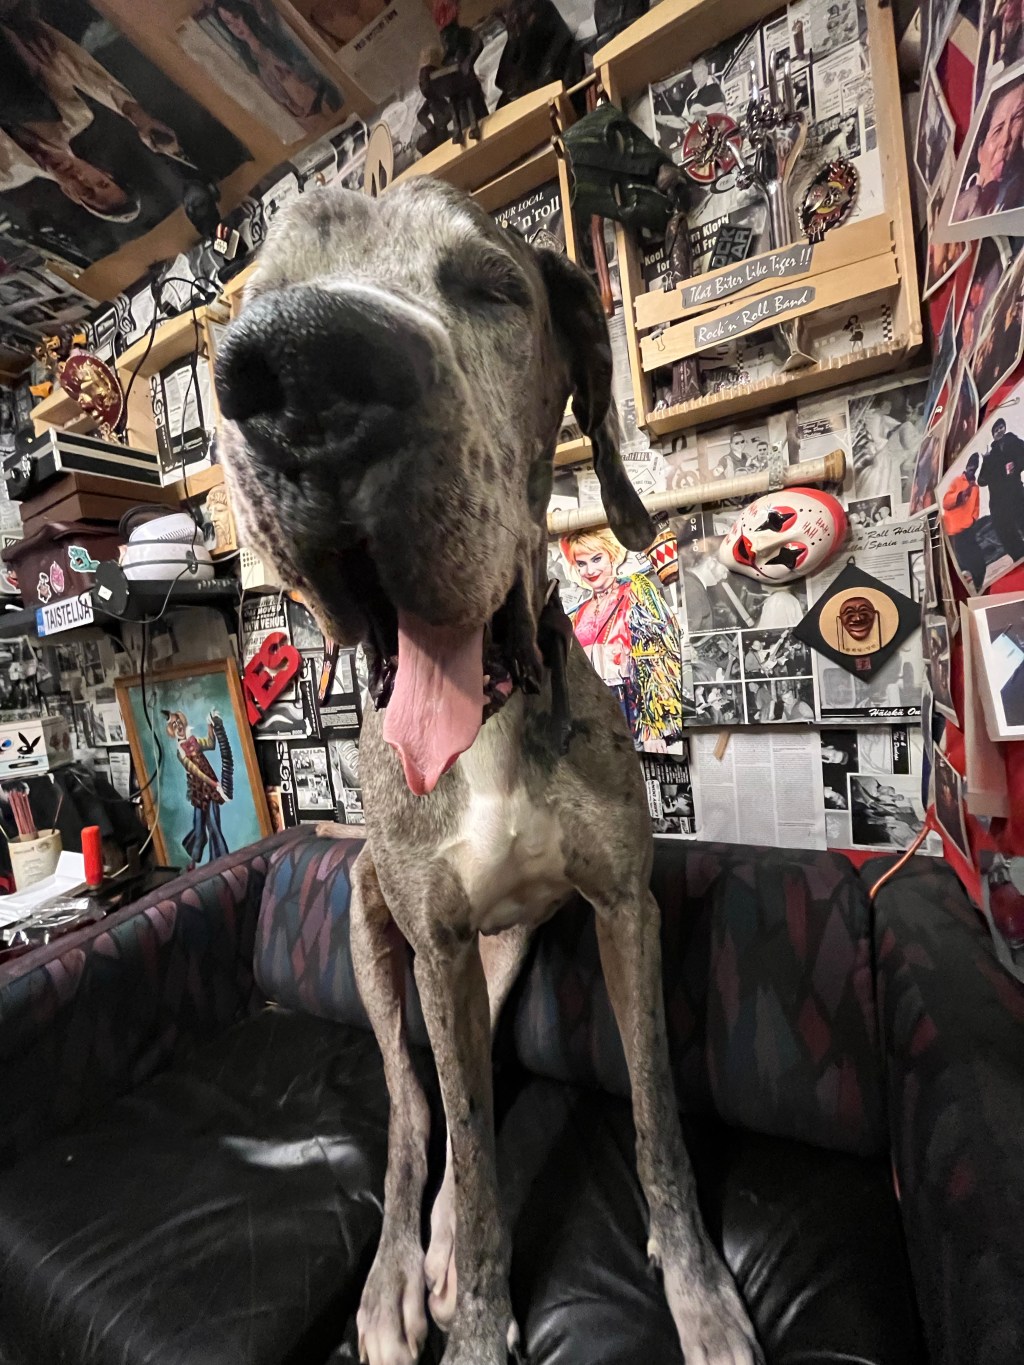
• SEARCH OF THE AUTUMN •
August 20, 2023
happening
,
life
dogs
,
fair
,
Great Dane
,
mushrooms
,
old market square
,
organic food
,
summer
,
Tattoos
,
vintage
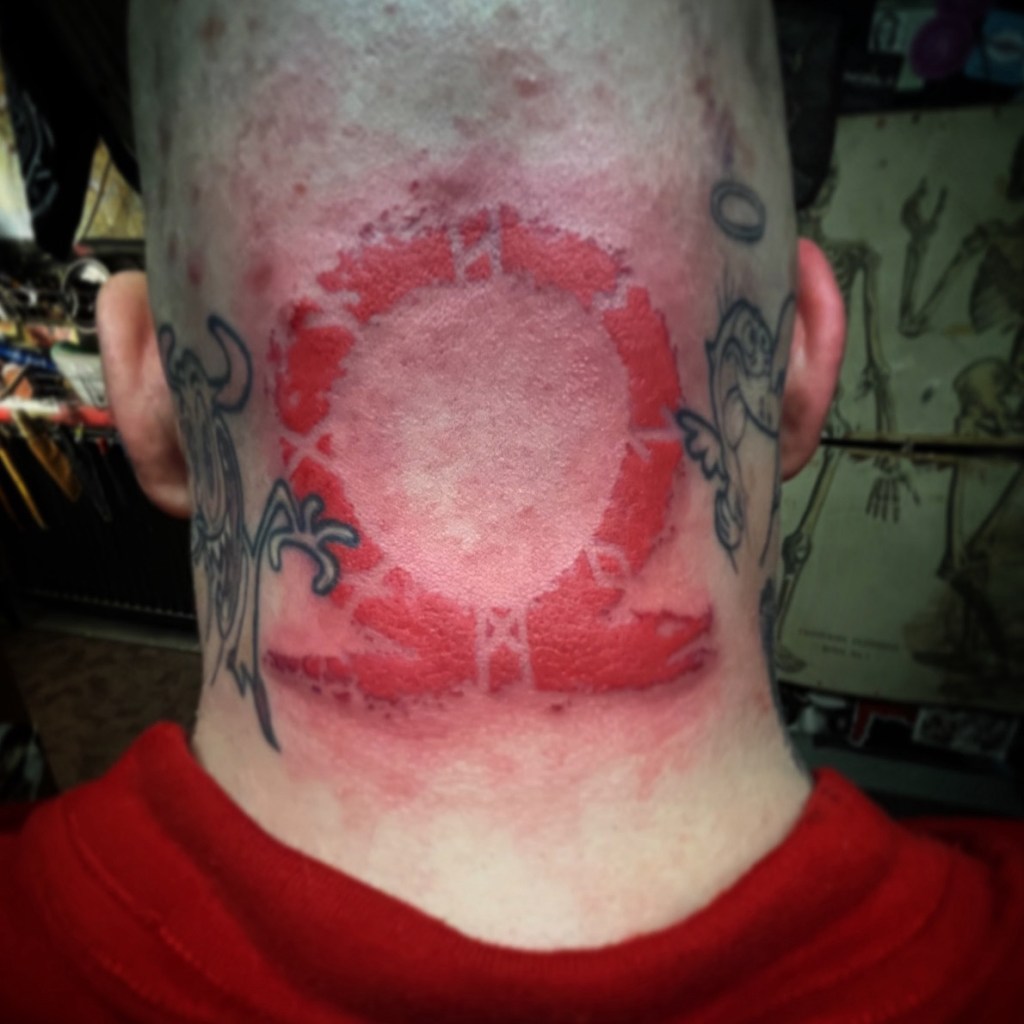
Viking runes tattoo day!
April 26, 2023
Tattoo
,
Tattoos
,
Tatuagem
runes
,
Tattoo
,
TattooLife
,
Tattoos
,
Vikings
→
Privacy & Cookies: This site uses cookies. By continuing to use this website, you agree to their use.
To find out more, including how to control cookies, see here:
Cookie Policy
Subscribe
Subscribed
Everything is art, welcome to the jungle!
Join 102 other subscribers
Sign me up
Already have a WordPress.com account?
Log in now.
Everything is art, welcome to the jungle!
Subscribe
Subscribed
Sign up
Log in
Report this content
View site in Reader
Manage subscriptions
Collapse this bar